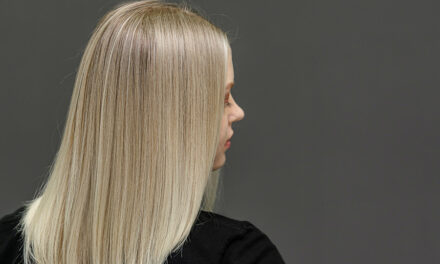
Are you looking to achieve salon-like results and enhance your hair color at home? Look no further than a hair toner. A hair toner is a fantastic product that can help neutralize unwanted brassy tones, add depth and shine to your hair, and give your locks a polished, professional look.
While you can find various hair toners on the market, why not prepare your own DIY hair toner solutions at home? Not only can this save you money, but it also allows you to customize the toner to suit your specific hair needs. You could have blonde locks, slightly darker hair, or a different result from the norm; whatever you want, you can tweak your recipe accordingly!
This article will guide you through preparing homemade hair toners with natural ingredients. But the best part – they’re all easy to prepare or follow, and we’re going to guide you through each step. You hardly need a few ingredients from your pantry, and you’re all set to prepare a homemade hair toner within a few minutes.
What is a Hair Toner?
There are times when a hair coloring job can go wrong! Brassy tones can make a coloring job look bad, but before you go to extreme measures like cutting off your locks or resigning yourself to a dark color to hide the effects, try a toner to even out the brassiness in your hair. Blonde and bleached hair needs toners, usually.
In other words, a hair toner changes the hair color’s undertones without removing or getting rid of the hair color. Nice, isn’t it? That saves us a lot of headaches, literally and figuratively! They either brighten dull tones or neutralize unwanted ones.
We all know store-bought hair toners are expensive, and that’s where a DIY hair toner comes into play. With natural ingredients, not only can you make an effective hair toner, it would cost you a fraction of what you would pay otherwise! So, let’s get started.
How to Pick the Right Ingredients
The first step in any DIY recipe is choosing the right ingredients. Depending on what outcome you expect from the hair toner, you will pick your ingredients accordingly.
Basically, the work of a toner is to neutralize the warmth or warm tones and regulate the result of the hair coloring job, typically orange and yellow tones. So, here’s how you do it:
For example: When you’re looking to correct brassy yellow tones or hair, you need purple toner.
When you’re looking to neutralize brassy oranges, you need a blue toner.
You could also use a color wheel to know what color or shade to choose for neutralizing.
How To Make DIY Hair Toner Solutions at Home
Now that we’ve decided to try homemade hair toner, let’s look at a few recipes. This way, you’ll know what works and choose the one suitable for the issue or purpose.
DIY Vegan Hollyhock Toner
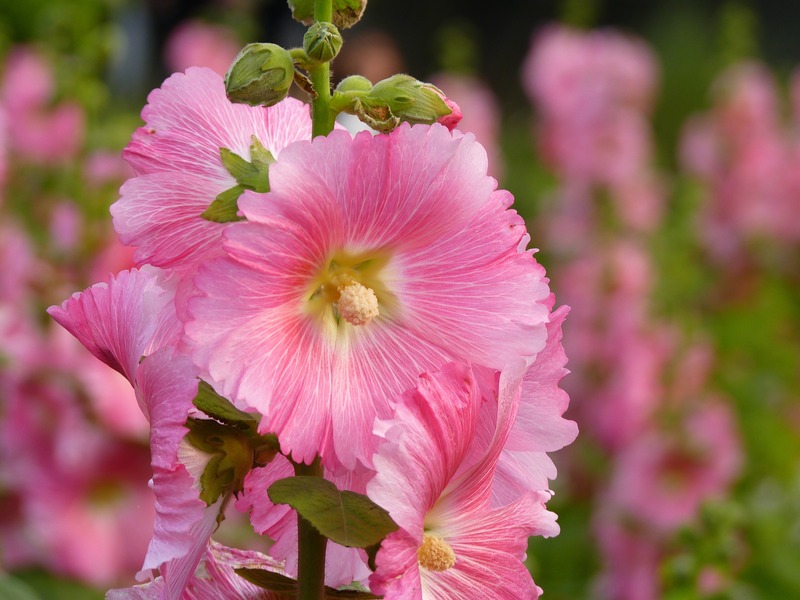
Hollyhock herb is similar to apple cider vinegar in that it helps get rid of warm undertones.
Ingredients
- Hollyhock Herb – 2 Tbsp.
- ACV – 2 Tbsp.
How To Make
Bring a cup of water to a boil.
Add in the ACV and Hollyhock herb and continue simmering it.
It should simmer for a few minutes till the mixture thickens.
Done!
Applying the Toner
Apply the toner to your hair (after it cools down, of course) and let it sit for a good 10 minutes.
Rinse off and wash off with a mild sulfate-free shampoo (if needed).
Air dry and style as usual.
Notes
You can add essential oils to this concoction if you prefer.
You don’t need to wash your hair if it’s not needed.
Don’t use it more than once a week.
You can ACV without adding anything except water and leave it on your hair before washing it off to get rid of warm undertones. The ratio is two parts ACV for a part of water.
Lemon Hair Toner

Lemon has a lightning effect and can be used to tone your hair to make your extra dark shades a tad lighter. It can also be used to brighten your golden or blonde locks.
Ingredients
- Lemon – As needed
- Honey – 2 Tbsps.
How To Make
Squeeze enough lemons to get about 1/4 Cup of lemon juice.
Add in the honey and add about 3/4 cup of water.
Done!
Applying the Toner
Apply aloe vera or coconut oil on your scalp lightly.
Now, transfer the mixture you prepared to a spray bottle.
Spritz on your hair and spend at least 30 minutes under the sun.
Leave the spray on for at least 2 hours before rinsing off.
Notes
Prepare more or less according to your hair length in the same proportion as given in the ingredient list.
Don’t forget moisturization before spritzing, as lemon can be a tad drying – you can use any oil like olive oil, sweet almond oil, argan oil, etc.
You can use aloe vera for moisturization instead of oils.
You don’t have to wash your hair if it isn’t needed. If you are washing, use a mild, sulfate-free shampoo.
DIY Vegan Indigo Toner
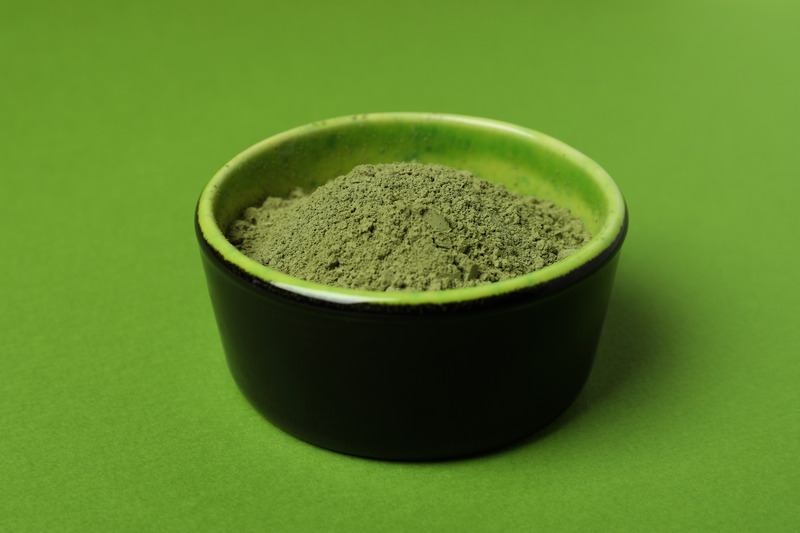
Indigo can help even out brassy undertones and enhance the result of your hair color. Indigo herb has blue undertones and is used to extract indigo dye.
Ingredients
- Indigo Powder – 1 Tbsp.
- Conditioner – as needed
How To Make
Nothing special, just mix it with your conditioner.
Applying the Toner
Apply the mixture to your hair and keep checking the hair color.
Once you achieve the desired shade, rinse off!
Notes
You can also add essential oils to this recipe.
You can use any conditioner you use for your hair.
You can finish off with apple cider vinegar rinse for added shine.
DIY Vegan Chamomile Toner
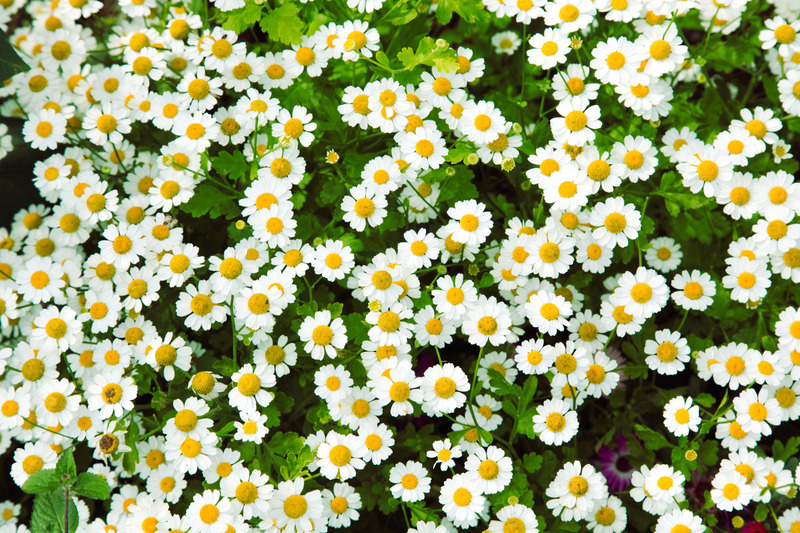
Chamomile toner is useful when you want to brighten blonde locks.
Ingredients
- Chamomile Flowers – 1/2 Cup
- Honey – 1 Tbsp.
- Lemon – 1/2
How To Make
Bring two cups of water to a boil and add in the chamomile flowers.
Switch off the heat and let it steep for 45 – 1 hour.
Filter and squeeze 1/2 lemon into it.
Add in the honey and mix well.
Done!
Applying the Toner
Transfer to a spray bottle and spray all over your hair.
Wait for an hour or more before rinsing off.
Notes
You can add ACV to this tea for shine. You can add less water for steeping if you prefer a stronger tea.
You can use this once a week or as needed.
DIY Baking Soda Hair Toner

Unlike other toners, this can also remove the product. Still, baking soda is used as a toner to neutralize warm undertones combined with food coloring pigments and to clarify the scalp.
Ingredients
- Baking Soda – 1 Tbsp.
- Blue Food VColor – 2 Drops
- Purple Food Color – 2 Drops
- Shampoo – As needed
How To Make
Nothing special; mix all the ingredients together in a mixing bowl.
Add some water to make it easy to apply.
Done!
Applying the Toner
Apply the prepared shampoo to wet hair like you would your normal shampoo.
Wait for 5 – 10 minutes before rinsing off.
Notes
You can adjust the quantity and food color as needed based on your hair length.
Virgin Olive Oil
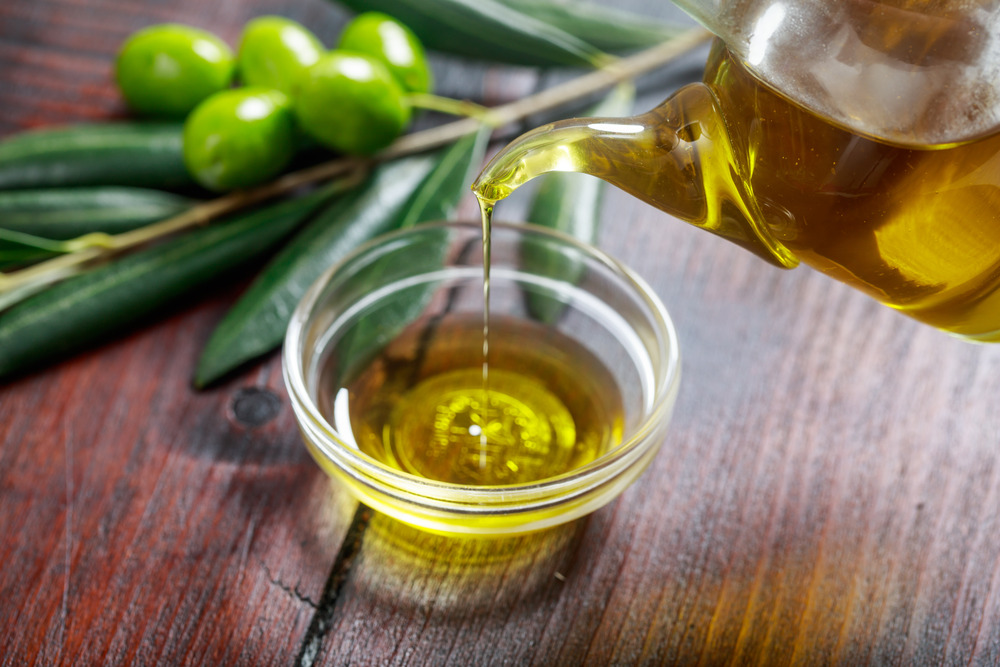
You can use olive oil to darken your hair color to even out brassy undertones if you have dark hair. Besides, it’s a natural nourishing and nurturing aid for your hair and scalp.
All you need is slightly warmed olive oil. Massage your scalp with it, apply the rest on your hair, and wait 20 minutes before washing it off.
Benefits of Using Homemade Hair Toners
Homemade hair toners don’t cut a hole in your budget like commercial ones can. They cost a fraction and are flexible.
You can prepare the hair toner according to your needs and tweak it if needed.
You prepare it using natural ingredients, and it’s chemical-free unless you choose otherwise.
You know what goes into your toner.
You can personalize the hair toner according to your preference.
It’s easy to make and can do better than commercial toners at times, and they’re chemical-free.
They can brighten the shade and spruce dull hair or fix brassiness.
Final Tips and Considerations
Toners are not meant to add shade to your hair, but work on the existing coloring job and tweak it.
You need to reapply toners at regular intervals based on hair requirement – usually once in 2 – 8 weeks.
Toners are typically used for bleached or blonde hair and help fix orange and yellow tones.
You shouldn’t shower right after toning.
The more frequent your hair showers are, the sooner you’ll need reapplication of the toner.
Protect toned hair from sunlight to prevent the shade from going light further unless that’s your desired result.
You’ll still need deep conditioning hair treatments to strengthen hair, as bleaching will leave your hair thin and dry.
Overall, hair toners fix a hair color issue without you needing a full overhaul and redo. However, you don’t have to use commercial and chemical-based hair toners for that purpose, especially when they cost a lot. Instead, you can get the same results with a homemade hair toner that you can prepare using natural ingredients at much less cost.
Give DIY hair toner a try before you buy one off the shelves. Going the DIY way is a great chance that your hair and scalp will thank you. With time, you’ll see the benefits and results and won’t turn your back on DIY. However, if you don’t have the time or inclination, we’ve got your back with a broad range of vegan hair cosmetics from Vitamins Revive. Do check out their store to learn more about their products and see if they suit you.
As always, do let us know how you like these DIY recipes and how they work for you. We love hearing from you, so keep us posted with your results. Also, if you have any questions, queries, feedback, or requests, feel free to reach out to https://vitaminsrevive.com/collections/all?a_aid=diy-reviveus


