
Hair wax is a great option when you want a subtle finish without compromising on the hold, flexibility, and keeping bad hair days at bay. It also makes restyling easier and doesn’t leave your hair crisp.
However, store-bought hair wax is laden with chemicals and ingredients you could do without, making DIYing this hair wax at home not only cheaper but also a healthier option. So, want to know how to prepare hair wax yourself?
Is It Safe To Use a Homemade Wax?
Of course, DIY hair wax is perfectly safe and better than commercial waxes with many chemicals, additives, preservatives, and whatnot. But, on the other hand, you know what goes into homemade hair wax, prepared using natural ingredients and is pocket-safe.
When preparing your homemade styling hair wax, you choose ingredients according to your requirements and preference, so they’re customized for you. Preservative-free, you’re preparing smaller and fresher batches every few weeks.
All these reasons make using diy hair styling wax safe and better.
Homemade Vegan Hair Styling Wax Recipe
Making your own hair styling wax is easy, and you can choose what works best for you, tweak according to your taste and preferences, and, most importantly, keep it natural. In addition, we already know DIYing costs a fraction of the cost you would pay otherwise for hair care and styling products bought off shelves.
DIYing doesn’t have to be complicated or tough. This recipe is easy, flexible, and has very few ingredients. Let’s take a look at the recipe first.
Things You’ll Need
- Candelilla Wax – 1/2 Tbsp.
- Cocoa Butter – 1 Tsp.
- Shea Butter – 2 Tbsp.
- Coconut Oil – 1 Tbsp.
- Castor Oil – 1 Tbsp.
- Argan Oil – 1 Tsp.
- Myrrh Essential Oil – 7 Drops
- Rosemary Essential Oil – 16 Drops
How To Make
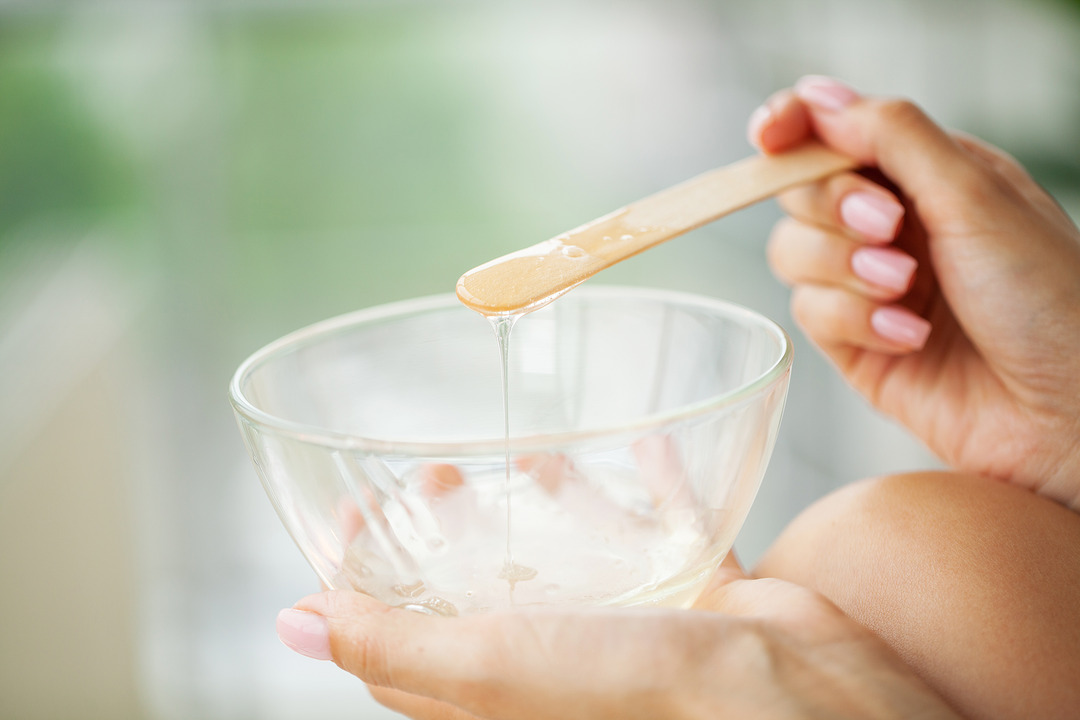
- Add all the ingredients except argan oil and essential oils in a small bowl or glass jar – shea butter, castor oil, coconut oil, cocoa butter, and candelilla wax.
- Melt them together in your double boiler and remove them from heat once melted.
- Stir in the argan oil and essential oils after it cools down slightly and mix to combine.
- Transfer to a sterilized amber glass jar and set aside.
- It will be ready for use in a few hours after it fully cools down.
How To Use
Take a small dollop and rub it against your fingers. Comb through your hair with your fingers to apply sparingly and style your hair.
You can also use this as a conditioning balm, but the quantity can be lesser than when you use it as styling wax. Conditioning balm is for conditioning and keeping wisps and flyaways at bay.
Notes
Don’t have a double boiler? Make a makeshift one instead of fretting over buying it for a huge price tag.
To make your makeshift double boiler – Fill a large vessel or your cooking cauldron with water. Use a small ring inside the water.
Make sure the stand is immersed fully in water. Now, place another bowl smaller than the main vessel on the stand. Ideally, use heavy-bottomed vessels for even heat distribution and to avoid burning.
Heat your ingredients in this makeshift double boiler – stand is optional but recommended for delicate ingredients, especially when preparing DIY hair care products.
You can use beeswax if you’re not looking at a vegan version. However, you need double the quantity if using beeswax.
You can also use carnauba wax, but that’s harder than candelilla, so add more oils to get the right consistency.
Other vegan options for beeswax include soy wax, rice bran wax, berry wax, myrica fruit wax, sunflower wax, etc. The proportions might alter slightly for different waxes, so check on that and choose your oils and butter proportions according to the wax you’ve chosen.
Once you add in the essential oils and argan oil, you can whip the mixture to combine the ingredients well. You don’t have to whip for long to combine the ingredients well.
Instead of coconut oil, you can add olive or sweet almond oil based on your hair type.
You can swap nourishing Shea butter for cocoa butter since you’re using wax in this recipe. So you can stick with the softer Shea butter alone.
Choose any hair-beneficial essential oil(s) in this recipe to make it more suited to your tastes and preferences. Spikenard, basil, juniper berry, thyme, frankincense, lavender, or even mint are a few essential oils you can consider using in this recipe.
Lavender is great for damaged hair or improving overall scalp and health. Myrrh is good for nourishing dry hair. Roman chamomile is soothing on colored or natural hair, thyme, and mint promote hair growth, etc.

Likewise, rosemary essential oil helps with hair growth; wintergreen helps combat dandruff. Cedarwood promotes hair growth, etc. In this recipe, you can also choose your favorite essential oils for their aroma and replace myrrh with your favorite essential oils.
You can choose ingredients for more than just your styling needs in this recipe. For example, you could use it to tame flyaways but also add ingredients that could condition dry hair, improve shine and add life to your hair, promote hair growth, improve scalp health, etc. But, again, it is your choice, so try out different versions to know what works best.

Benefits of Using a Homemade Hair Styling Wax

It’s all-natural, preservative, and chemical-free.
Pocket-friendly.
You know what goes into your hair styling wax and can alter it according to your taste or requirements.
Make smaller batches and try out multiple variations without denting a hole in your budget.
It conditions hair, tames flyaways and wisps, and, most importantly, makes hair manageable. The light sheen is surely a bonus!
Easy to make, and most ingredients are available if you’re into DIY already!
Dry or Wet Hair?
The way your hair styling product should be applied can vary. So make sure to know how to apply before you get started since it may or may not suit you or your requirements.
Hair gel can be applied on both dry hair and wet hair, though usually on wet hair. Unlike hair gel, hair wax should be applied to dry hair only.
Hair Gel Vs. Hair Pomade Vs. Hair Wax
There are many types of hair styling products – hair gel, hair wax, hair sculpting wax, hair pomade, hair mousse, etc. Each has its own place and takers. First, however, we will talk about the three common styling products and two very similar ones, so you get an idea of what might be suitable and choose accordingly.
Hair gel keeps your hair style intact and offers light-medium – ultra holds, and gives you more confidence that your locks will stay in place! However, it forms a cast or coating on your hair, giving it a hard and crispy texture. It makes restyling difficult, especially after it is set.
On the other hand, hair pomades offer a slippery and waxy feel. However, it gives a flexible hold and retains your hair texture. Usually, water-based can be oil based too.
Styling hair wax or sculpting wax is for picky people and offers a medium-strong hold. The finish can be matte, shiny, or semi-matte, according to one’s preference, and is workable. Sculpting wax is also very versatile.
There are no right or wrong hair products; you can choose what product you’re comfortable with and start your daily hair care from there. However, these three products are the most common and have slightly different constituencies and textures.
Hair pomade might work for someone who loves more flexibility and prefers water-based solutions for their hair styling needs. On the other hand, hair wax might be suitable for someone who isn’t going for the glossy look of gel and wants a subtle solution for trying different hairstyles.
Conclusion
This is another easy recipe that even newbies can try out. So get started with DIYing if you haven’t already, and swap to this natural and effective hair styling wax and sport hairstyles that you would otherwise can’t!
Don’t have time for DIYing? We’ve got you covered with a broad range of vegan hair cosmetics from Vitamins Revive. Do check out their store and let us know what you think. They have a product for every need out there, so check out and see if there’s a product that suits your requirements better.
Feel free to write back to us with any questions, queries, or requests. We love hearing from our readers, so keep them coming!


